
In the Beginning…
I did not start recording video when I started the paint job. I should know better by now. Often times I just want to get the project done and so I start, then part way through I decide I happy enough with the results so far that I should start to document it.
And that’s exactly what I did with this project. So today is just a quick video with no explanation, and lots of loud music.
But… If you are going to do something similar. Here is what I did.
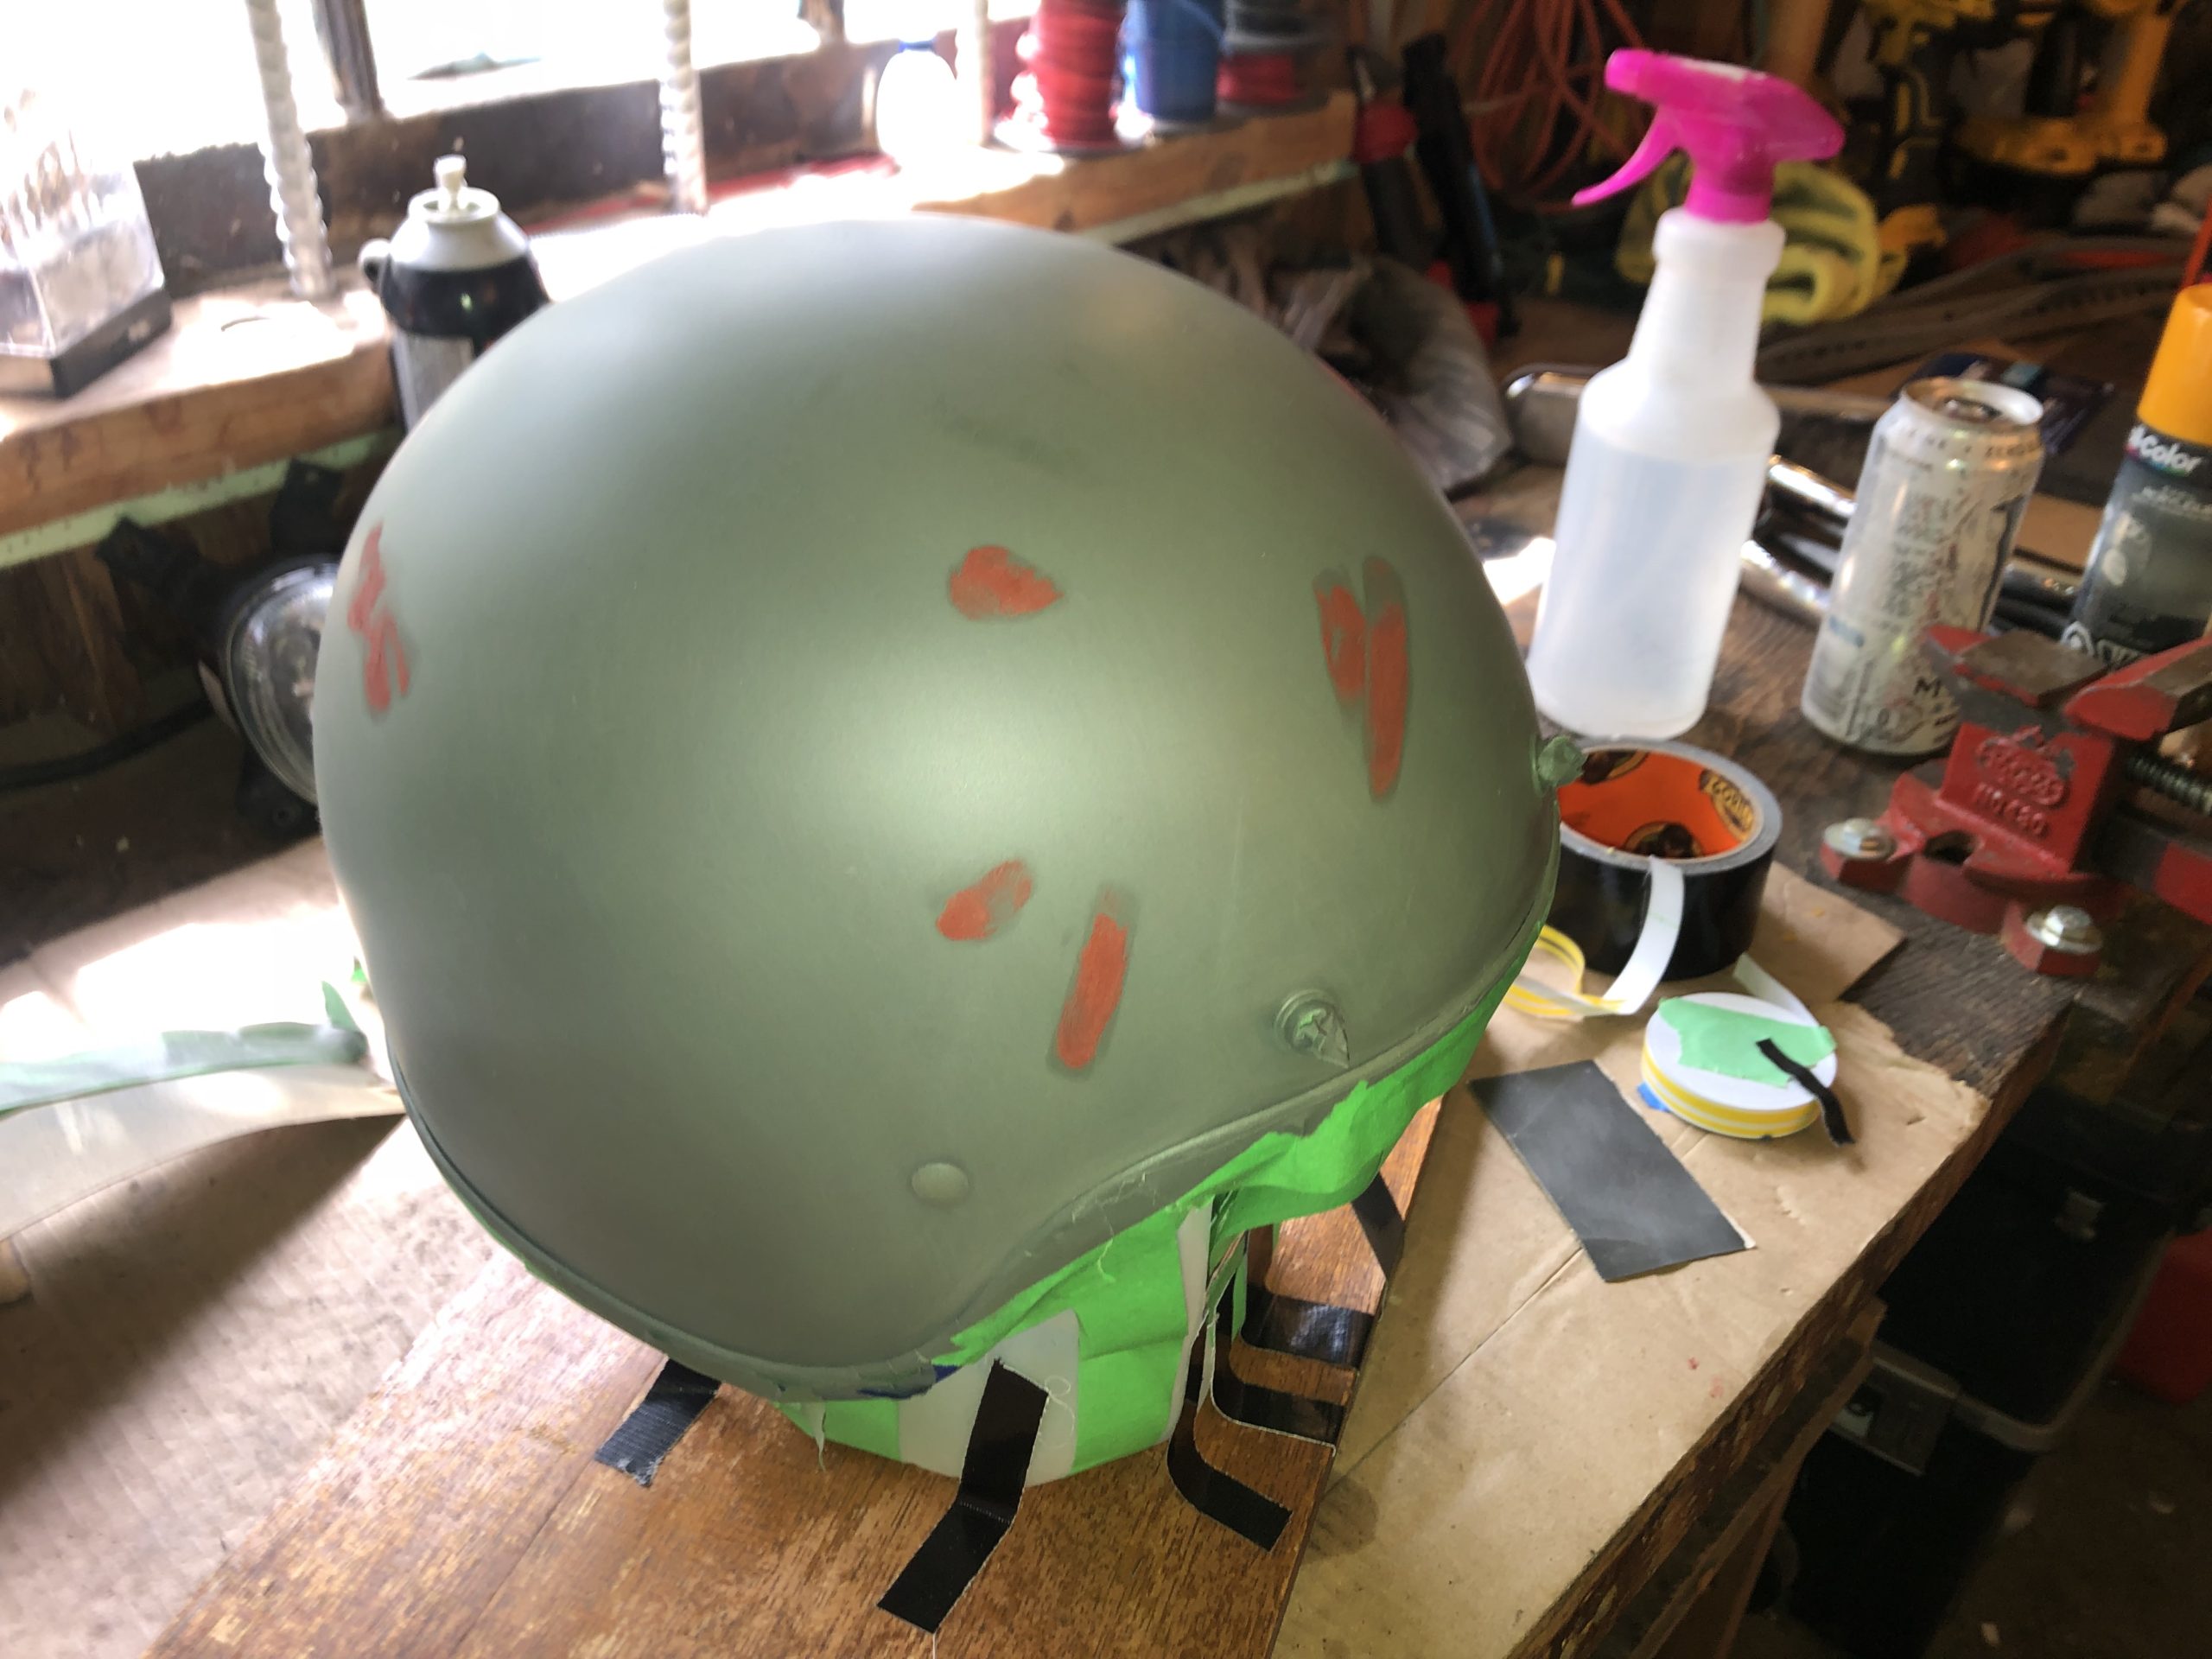
The original paint on the helmet was black and was in fairly good condition, but with lots of little chips. So I sanded it down with 1000 grit sandpaper, then used a glazing putty to fill the nicks.
Helmet manufacturers will tell you never to paint their helmets as the solvents in the paint can affect the structural rigidity of the helmet. My sneaky plan was to paint over the existing paint, without sanding down to the base fiberglass of the helmet structure. This would prevent the spray paint solvents from penetrating into it. At least that’s my theory… I don’t know, it sounds good to me.
Primer Coat
After smoothing out the glazing putty I washed the helmet down with Dawn dish soap to remove any wax or grease, then dusted it, and gave it the first coat of primer. In this case I used a self etching primer, because I had it on hand. I gave the helmet three coats of primer. The first two fairly light and the third coat heavy.
Black Coat
After letting the primer cure for 24 hours I scuffed it down with red Scotch-Brite. Why? Because with such a thin coat of primer I didn’t want to sand through. The Scotch-Brite scuffs nicely without removing much material. I am using Duplicolor glossy paint for this project. I gave the helmet four coats of black paint. The first two very light, the third medium, and the final coat heavy, but not too much to run.
If you need either Scotch-Brite or Duplicolor paint for your project please use my affiliate links below. You pay the same low Amazon price for the products, and Amazon throws me a few pennies to thank me for sending you there.

Scotch-Brite works great to scuff down in preparation for automotive paint. It makes a nice rough surface for the paint to create a good mechanical bond.

Pin Stripe
After letting it cure for 24 hours I scuffed the paint with 1500 grit wet sand paper. Smoothing out any orange peel and dust bits. I’m not painting in the absolutely cleanest environment so dust is always present. Scuffing done I used yellow pin stripe to mask out where I want the final black pin stripes to be. Its just a coincidence that my pin striping was yellow, and I also painted the helmet yellow. Its just what I had on hand.
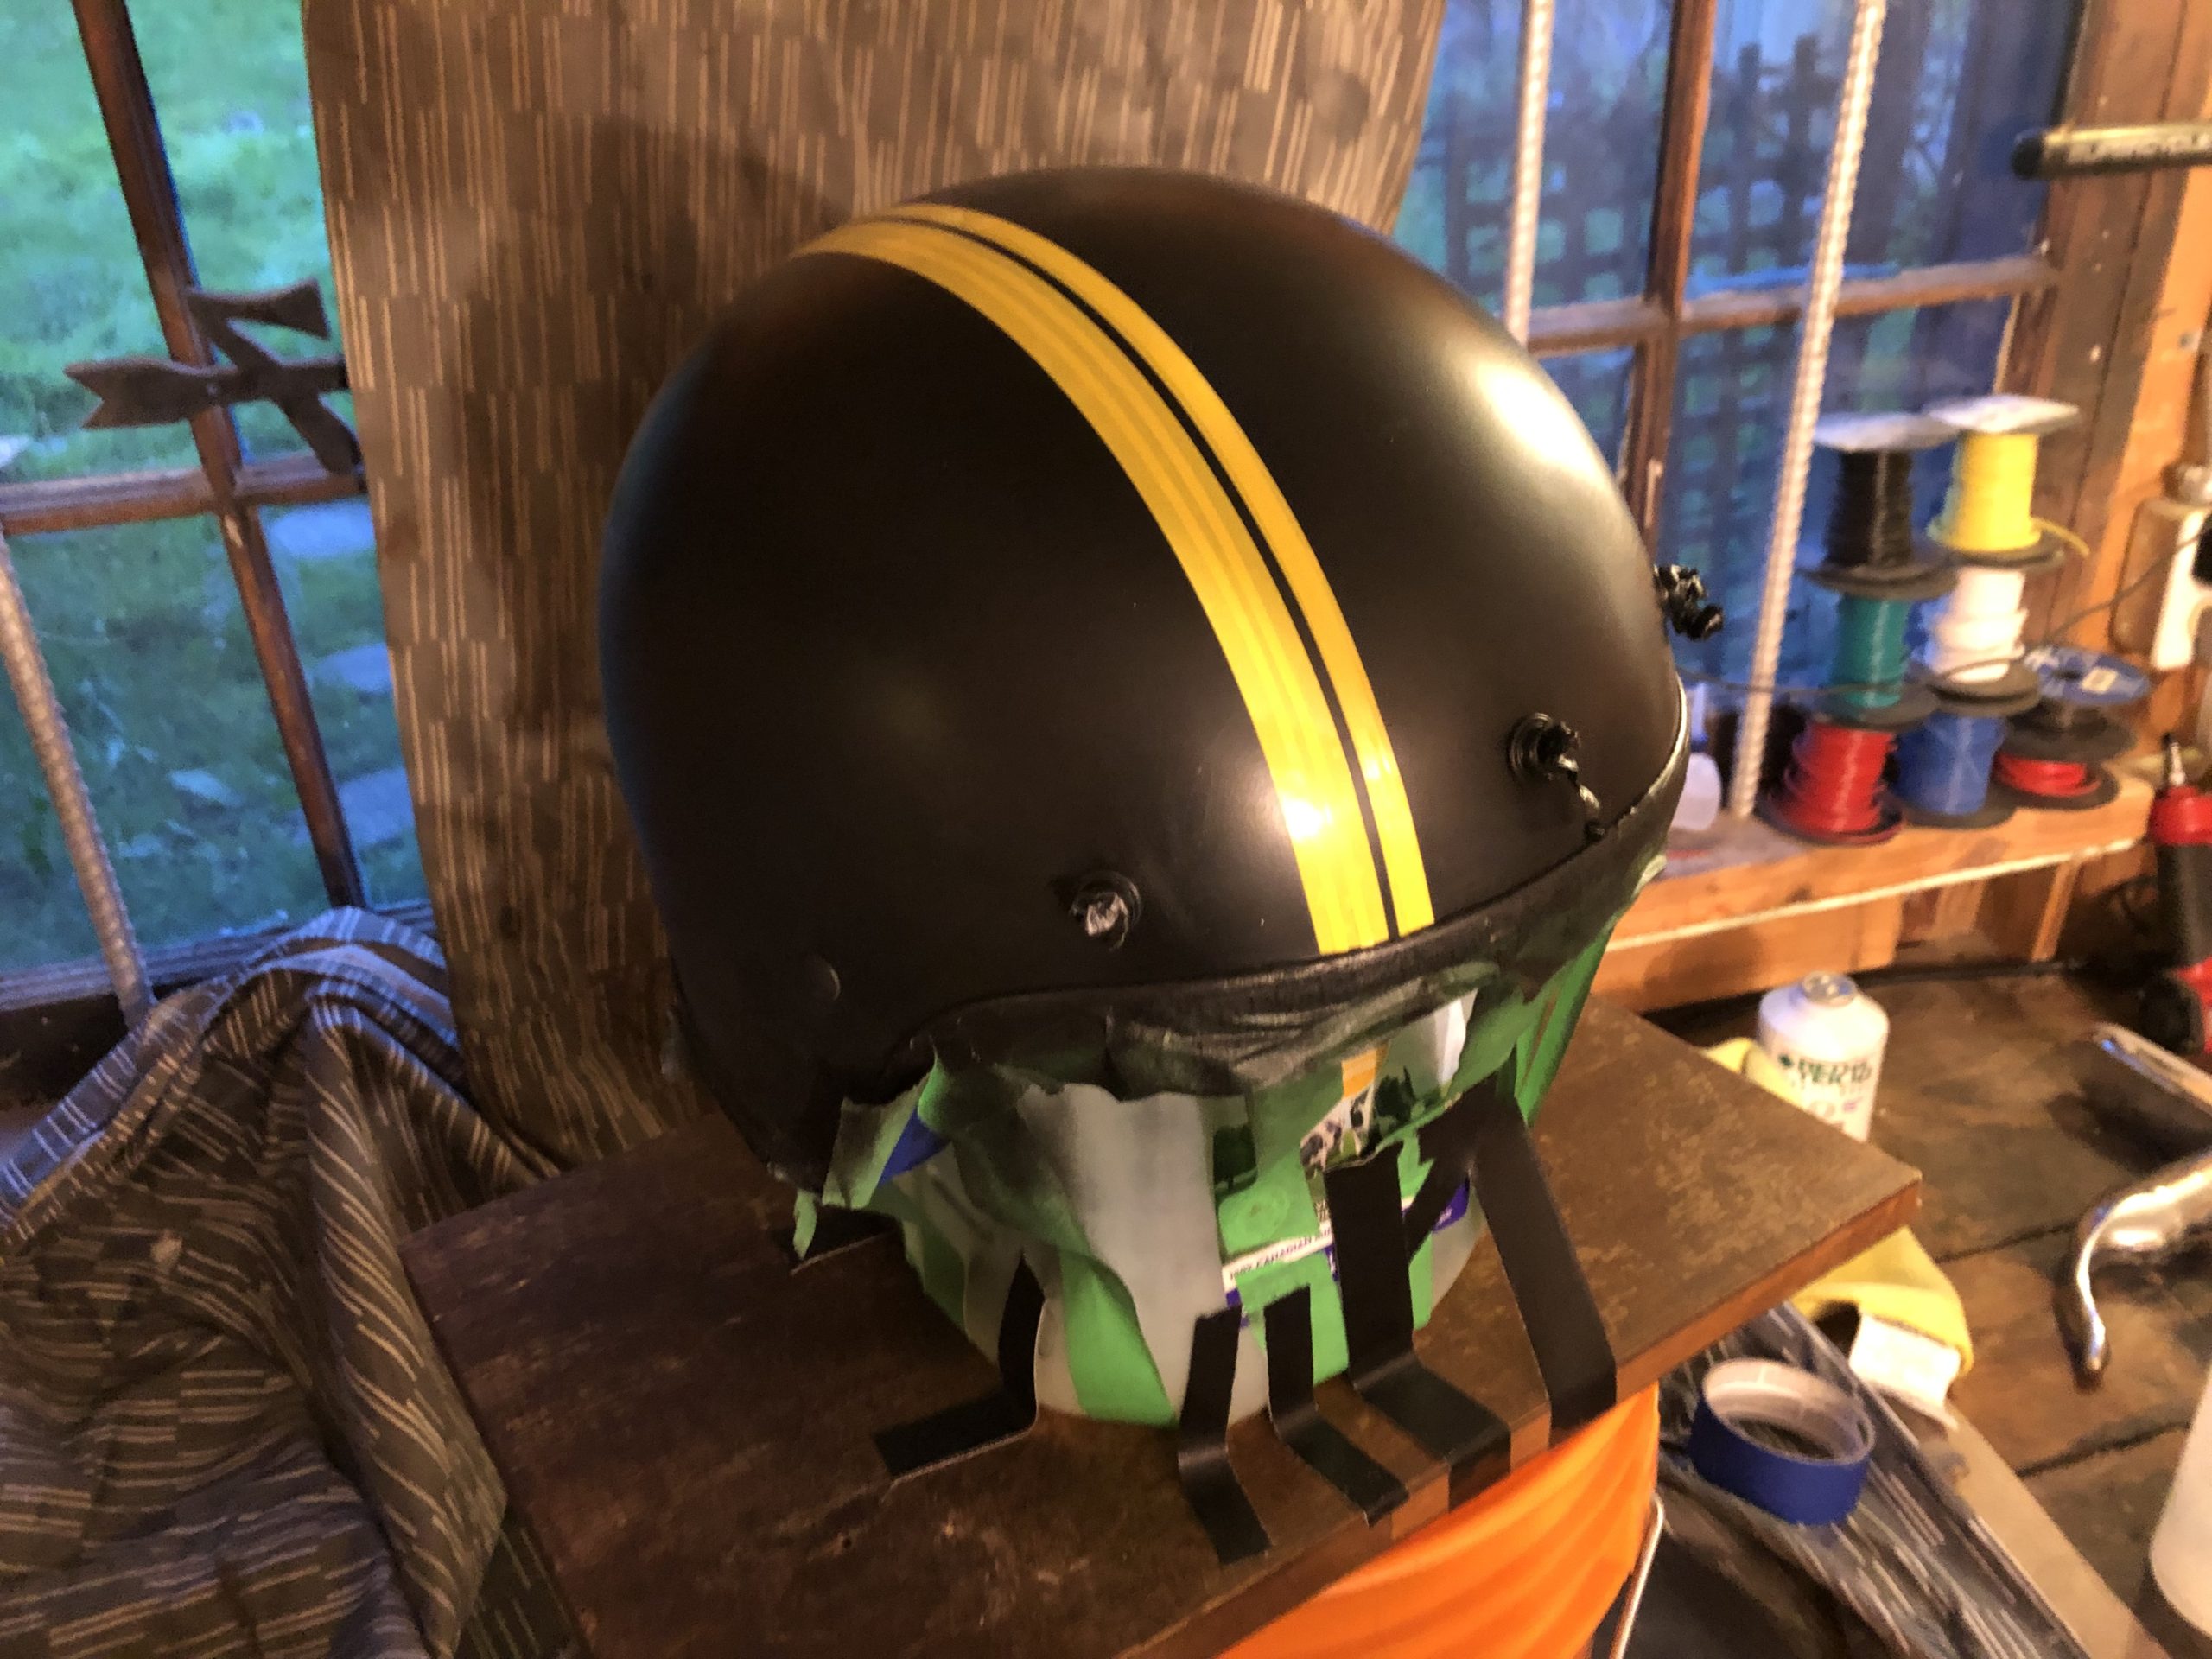
Yellow Coat
Pin striping on, I again wiped the helmet down with water, then when dry gave it a final dusting with microfiber cloth. I did two very light coats of yellow, Two medium coats, then a heavy coat to really wet out the paint and get a nice smooth shiny finish.
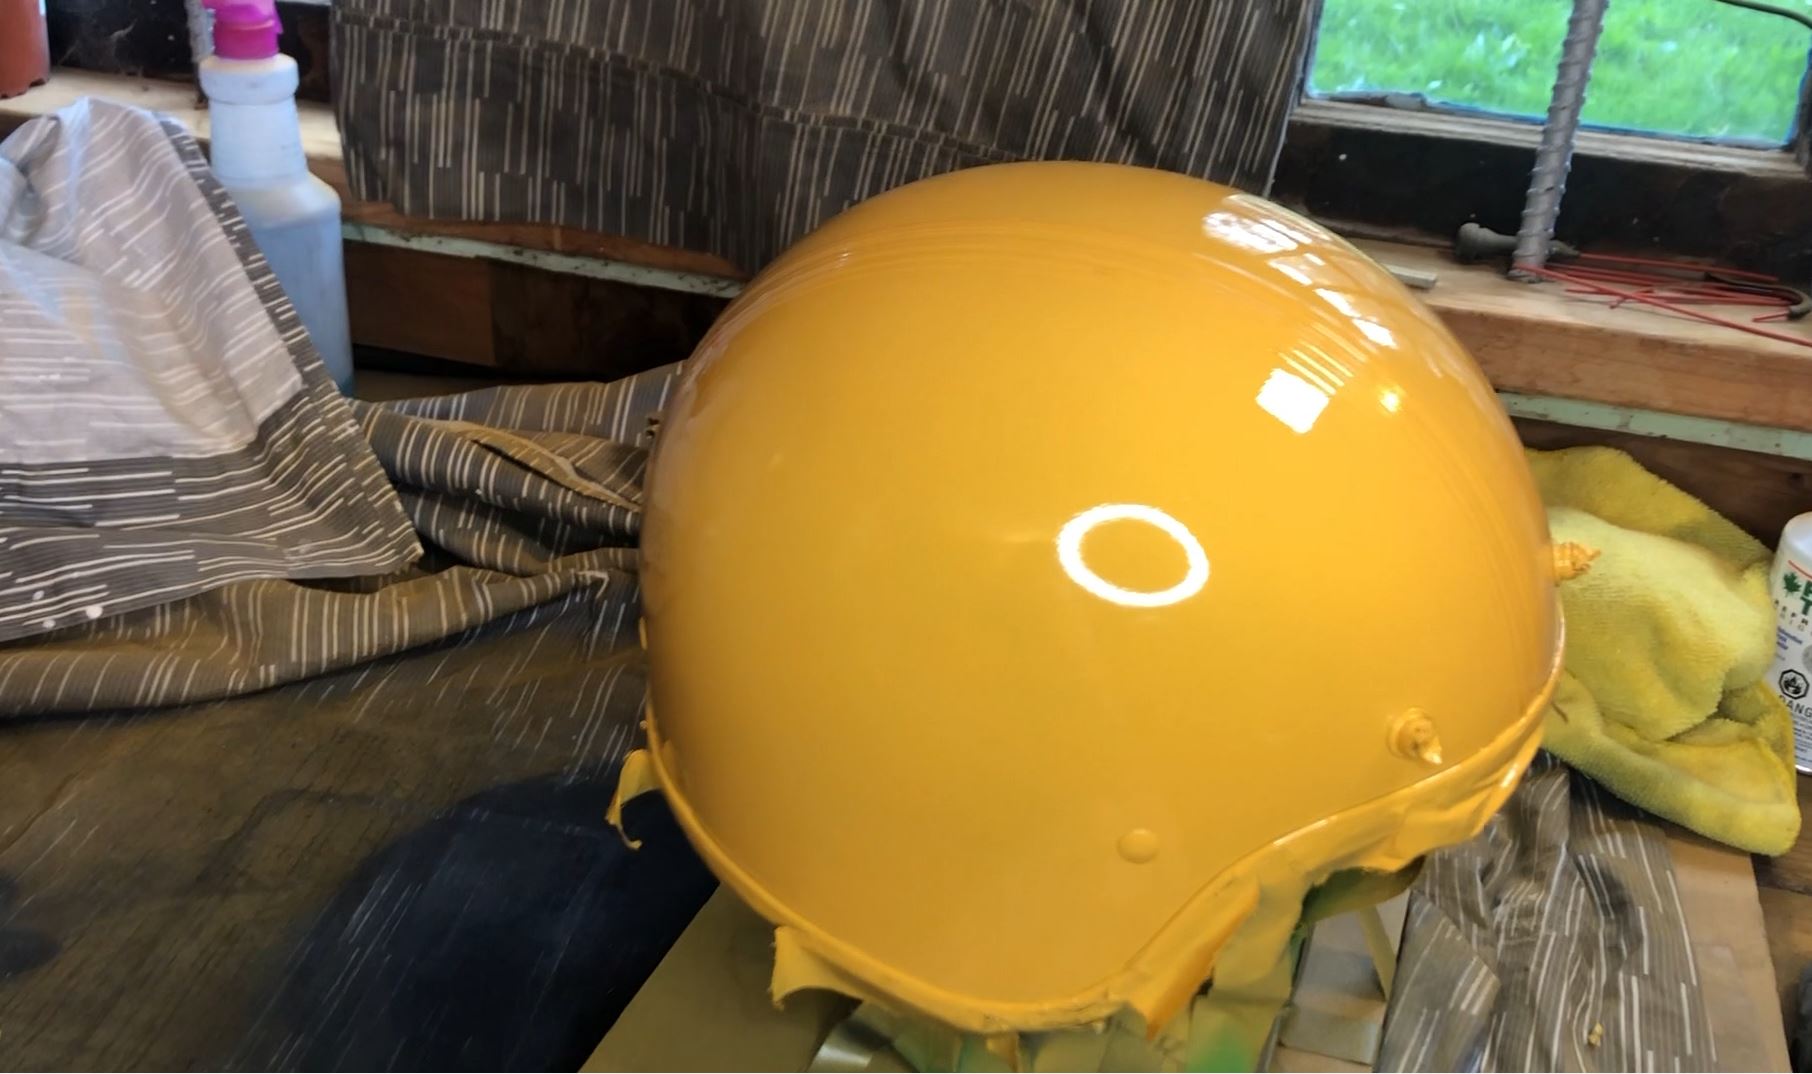
Clear Coat
This is where the video picks up, with the clear coat. I scuffed down the yellow, and wiped with water, then did a dusting with microfiber and canned air. Finally I did a close inspection with a light to find any areas that were not scuffed.
The problem with clear coat is that its difficult to see how it is laying down on the paint. At least when you don’t have enough light shining on it. Light helps as the reflections of the surface can indicate how thin or thick the paint is laying down. And this is why I got a run. I wasn’t being careful not paying enough attention to where I was spraying and I put too thick a coat on the left side.
I tried to be careful. I did two light coats, a slightly heavier coat. Then on the 4th coat I saw the run!! So I let the helmet cure for 24 hours, then used 1000 grit sand paper and wet it down with a mixture of water and Dawn dish soap as a lubricant. Eventually sanded the run down enough. Once again dusted the helmet, and started over on the clear coat. I added another light to the left side in order to get better reflections off the helmet.
Final Result
Finally after all the clear was done I let the helmet sit for 24 hours, then removed the pin stripe masking and the edge masking.
Considering this is my first helmet paint job, and that I used spray cans, I’m pretty happy with the results. Its difficult to get a smooth flow of the paint as some of the over spray always hits a surface slightly curved away from the area being painted. However I put the clear on thick enough that I can polish out any surface roughness.
The last area I was not 100% happy with is the masking I did around the edge of the helmet. I should have been more patient, and or used a dedicated automotive masking tape for this. Removing the masking left a couple areas of the helmet looking not so professional. But its around the edge and not very noticeable.
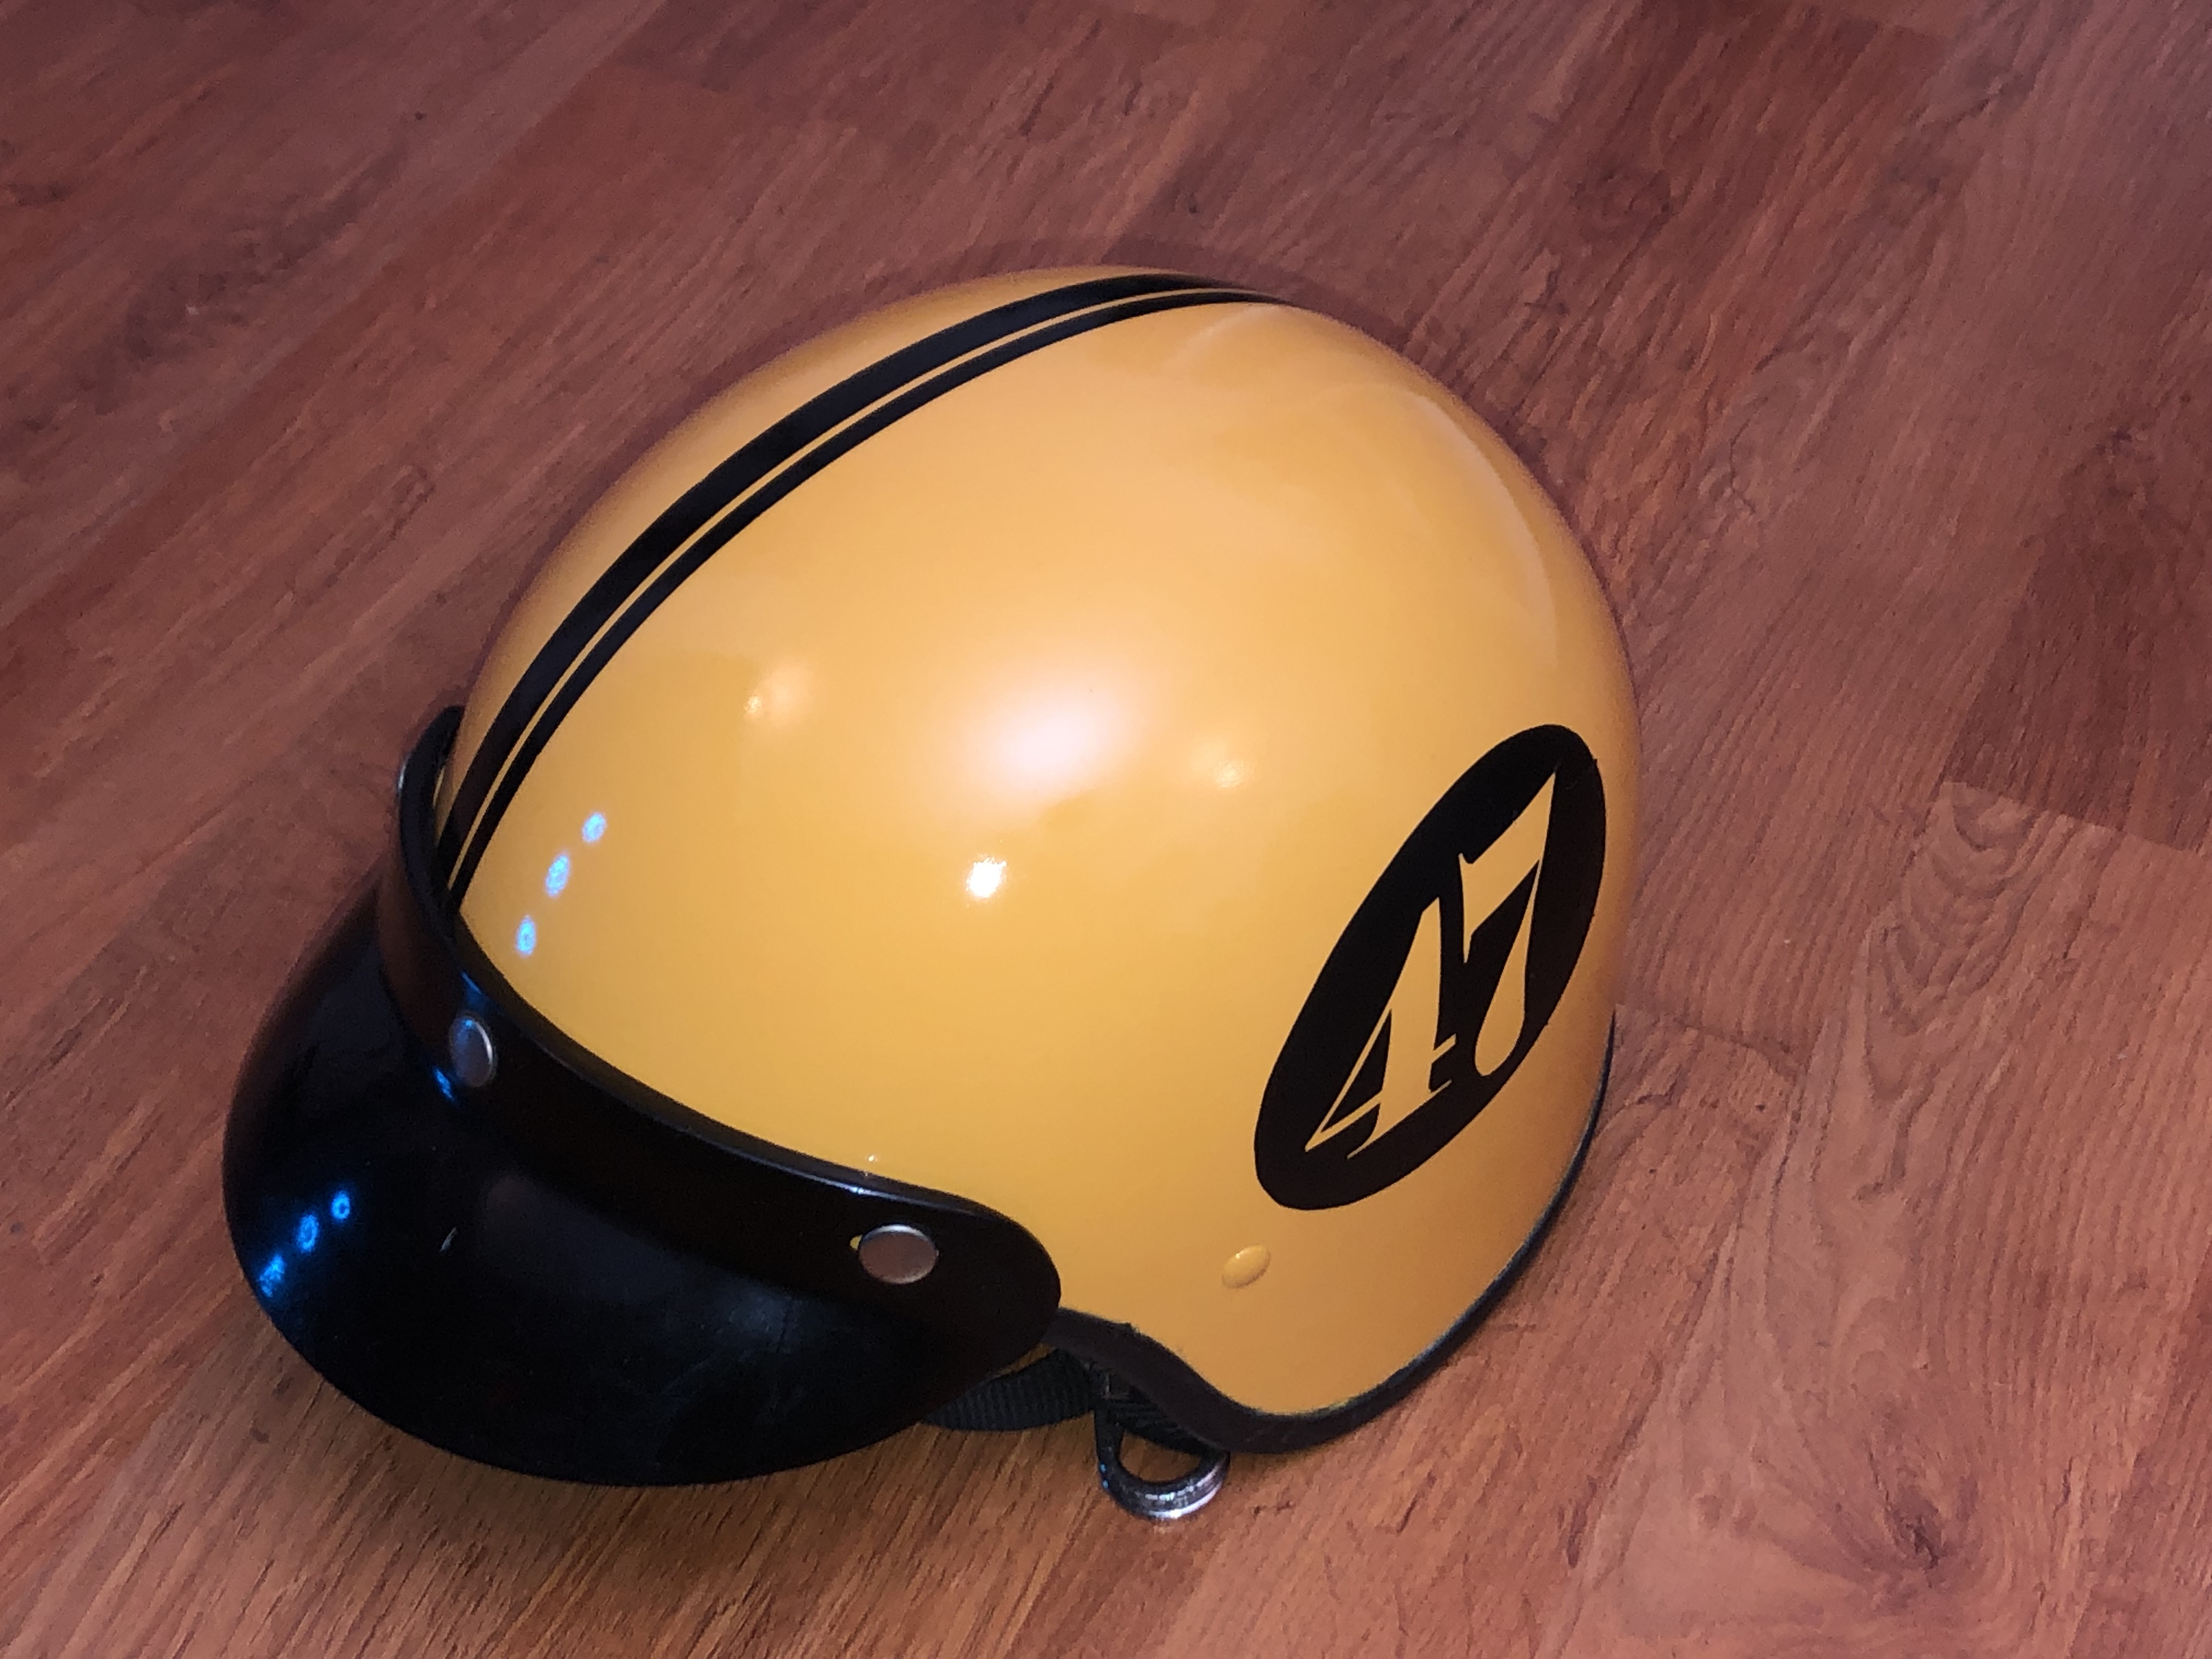
Once the polishing was done I cut out a number to match the ones I made for the scooter and applied it to the left side of the helmet. It mostly went on OK, but the helmet curves and it was difficult to get the vinyl to curve without a couple of wrinkles. Again, only noticeable under close inspection.
Add comment