The Details
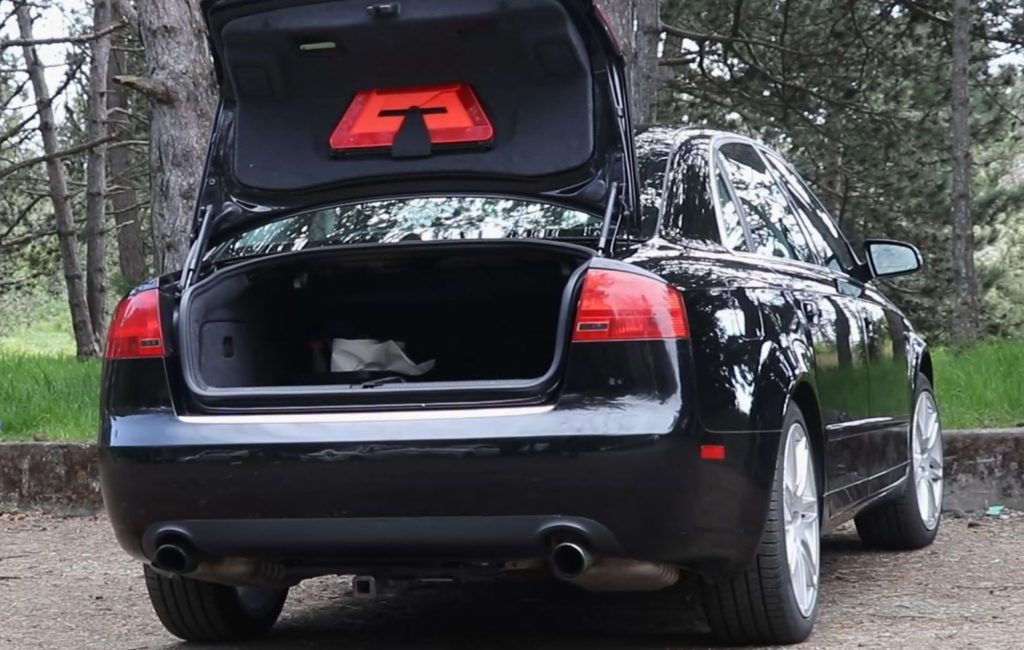
For the longest time I felt that something was missing from the trunk of my car. Turns out whats missing is a Warning Triangle. From what I’ve been able to find out Audi USA decided that Americans didn’t need no stinkin’ Warning Triangle, and didn’t want to add the extra cost onto the car. In Germany this item is considered standard equipment.

In my quest to give my car the most random upgrades I decided to see whats involved in adding this essential safety item. Turns out its super easy. Underneath the trunk lid liner the pointing points exist already. All I have to do is to cut out some of the liner and clip in a triangle mount.
What you Need
The Warning triangles are available on eBay from many different sellers. I happened to get mine from a seller local to me here in Victoria. The only tool required for this install is a razor knife. I used the knife to cut the trunk liner as well as the cardboard template I made for aligning the cut in the liner. If you need a razor knife for this or any other project check out this Amazon affiliate link for a really nice one.
Super cool Razor Knife that never needs sharpening. When the blade gets dull just insert a fresh one. I carry one of these as my daily carry and it comes in handy for so many reasons. Also totally legal as the blade is very short.
The Template
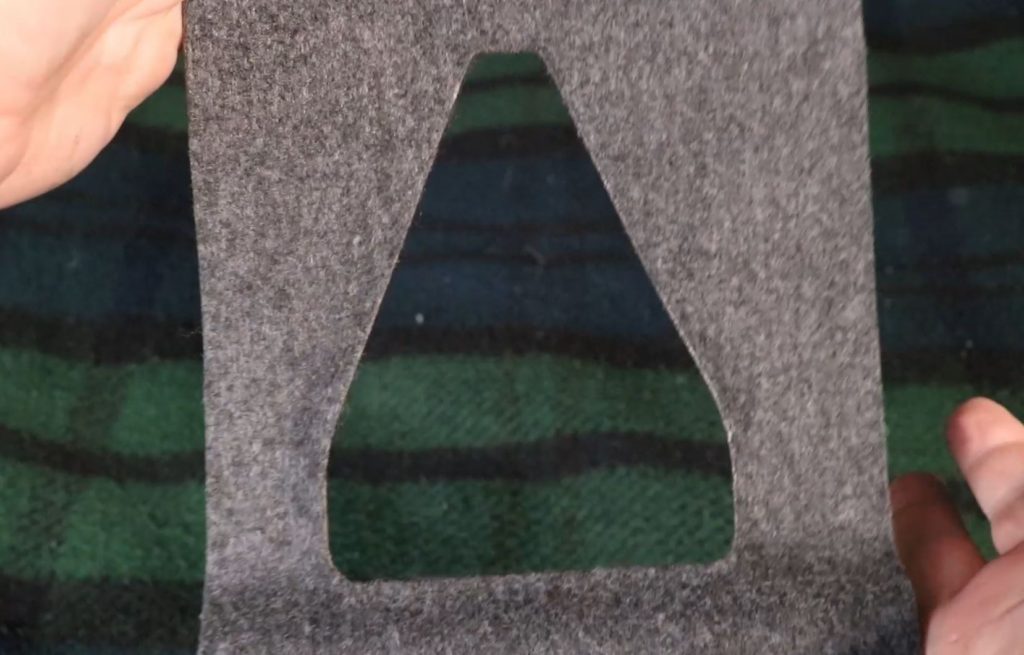
I did have an old piece of trunk liner with the stock hole cut out supplied by the triangle seller. However the stock hole is pretty large, only slightly smaller than the mounting bracket. I didn’t want to use it as if I was even a few millimetres off I would end up cutting the liner too wide. Not the end of the world, but I do like my modifications to look professional.
I made my own template and here it is if you want to download it. Its an Adobe PDF file, and printing this as original size should be the correct setting. But before you use the template please compare to your own mounting bracket.
Making the Cut
There isn’t much to this. Start cutting near the center of where the hole should be. Then start to widen the cut so that the mounting bracket fits, without making the hole too wide.
The only tricky part is the bottom two mounting clips on the bracket. The base of the clips needs to be flat against the clip hole on the trunk. If the hole is not wide enough and there is some trunk liner in the way then the clips will not engage properly. This is tricky as there is not much clearance between the clips and the edge of the mounting bracket. Just make small cuts and it will be no problem.
Summary
Measure often, cut slowly, have fun. Check out the associated Youtube video at the top of this article to see how I did mine.


Add comment