Why replace my Rear view Mirror?
I had a perfectly good rear view mirror already. The auto dimming works, and so does the compass. So why did I want to replace it? This is all part of my project on removing anything shiny or gray from the interior and replacing it with black. Like my bitter soul…
Before I start
Before I get into the actual swapping of the Rearview Mirror, here is a bit of background. I started converting the interior of my Audi A4 B7 from the boring stock grey to a much cooler black.
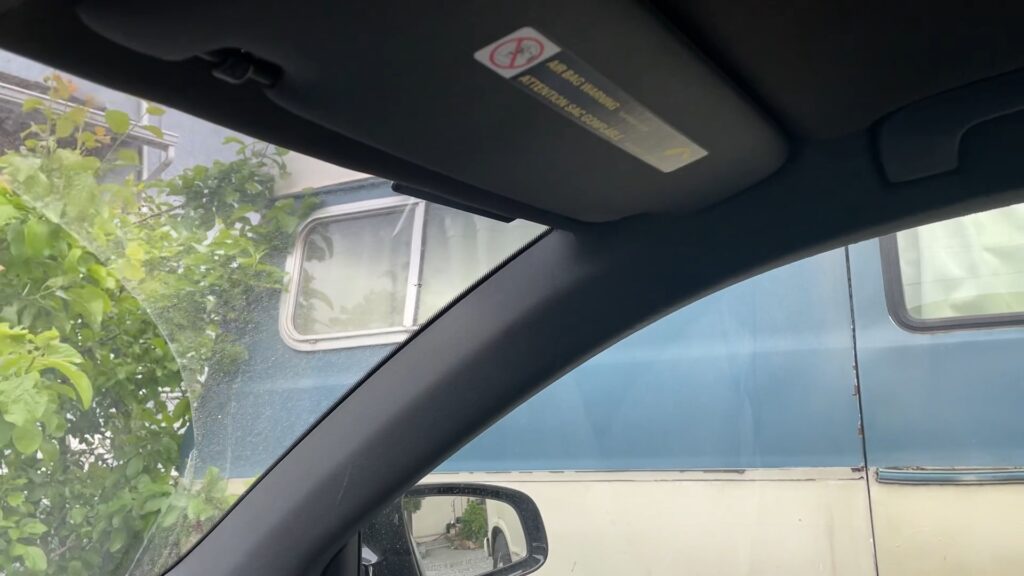
I found a great deal on a set of black grab handles, sun visors, and a roof center console. I got these off a friend who was parting out a B6 S4. I also got the rear window shade, but that’s another video.
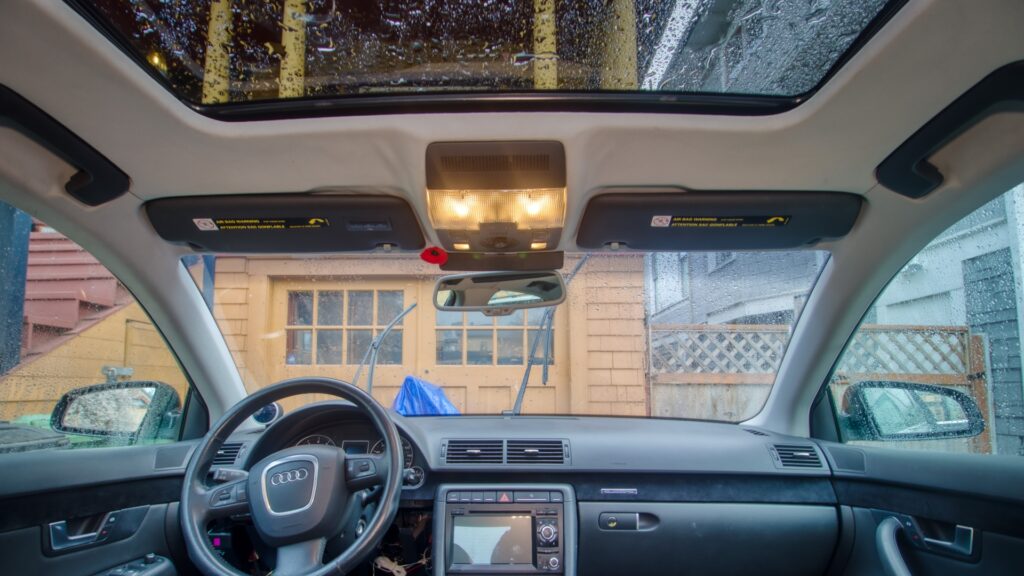
The new black pillars weren’t in perfect condition, but then my car is also old and not in perfect condition. I don’t mind if there is a bit of wear and tear as it would look odd to have perfect columns installed and 18 years of wear on the rest of the interior. The price was good so I bought them.
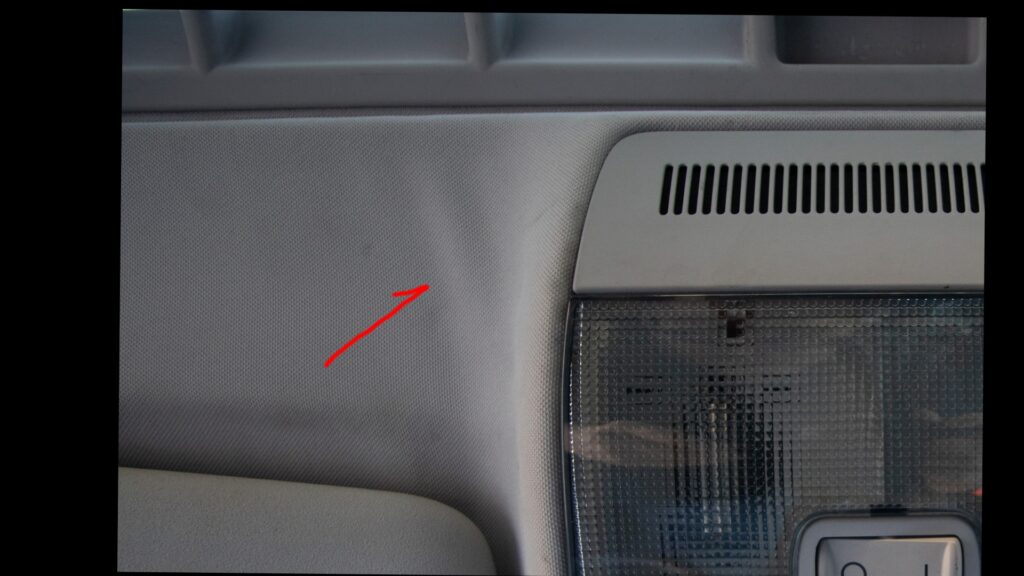
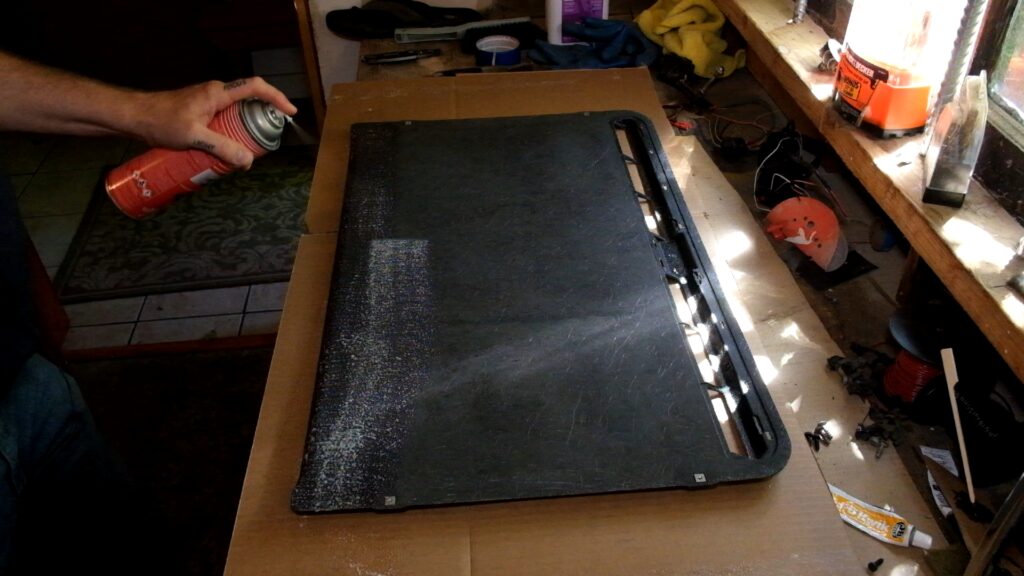
The next step was recovering the head liner and sun roof shade. I’m skipping past this part in this blog as all my photos and video footage of this work has mysteriously disappeared. However, this work was very labour intensive to remove all the old gooey glue and foam. Its important to do it right or the new head liner material will not stick properly.
Selecting a Mirror
The mirror in my car came from the factory with Auto Dimming and a Compass display. I wanted to keep that functionality. I scoured eBay for weeks trying to find a mirror with the exact part number but in black. I came up with the following. I assume the 4FK denotes black plastic instead of grey. If you know the answer to this Please let me know.
- Part number of Grey Mirror: 4F0 857 511F 1YE
- Part number of Black Mirror: 4F0 857 511F 4FK
Over the run of the B6 and B7 models there are several different rear view mirrors. Some came with the same options as mine, some are just simple mirrors with no dimming or compass. Make sure you check your part numbers correctly.
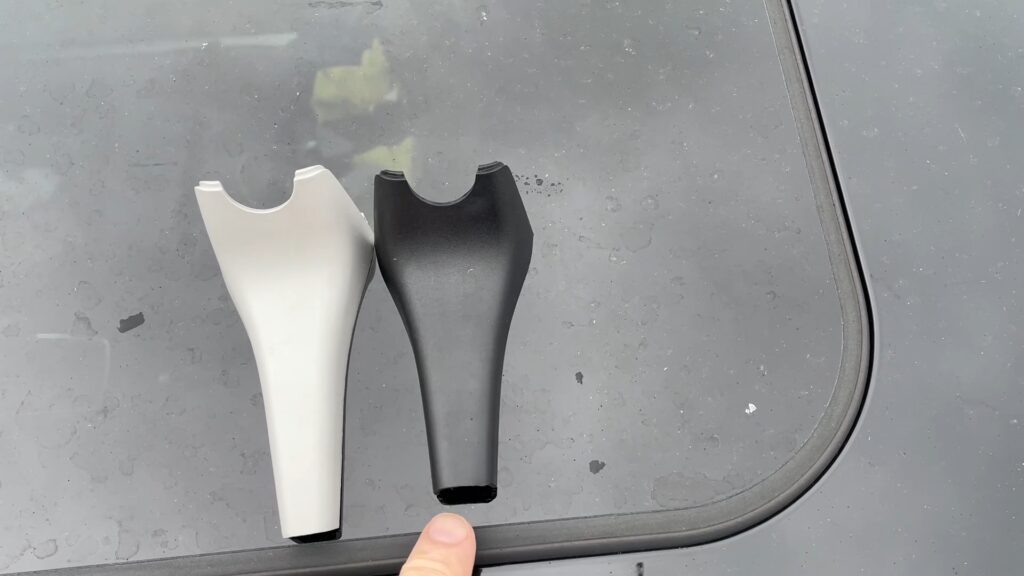
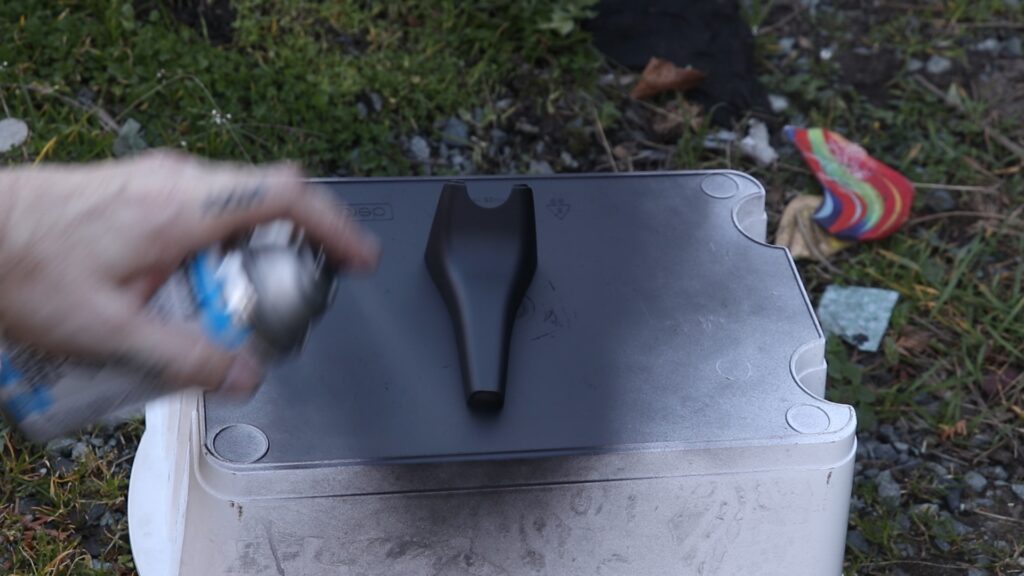
When my mirror arrived I noticed the plastic wire cover was a different shape and the two mounting tabs are broken off. I solved this by painting my old one flat black using “Certified Flat Black” that I buy from Canadian Tire. No idea if “Certified” is the name of the brand, but the flat black closely matches the cars interior colour.
Changing out the Mirror
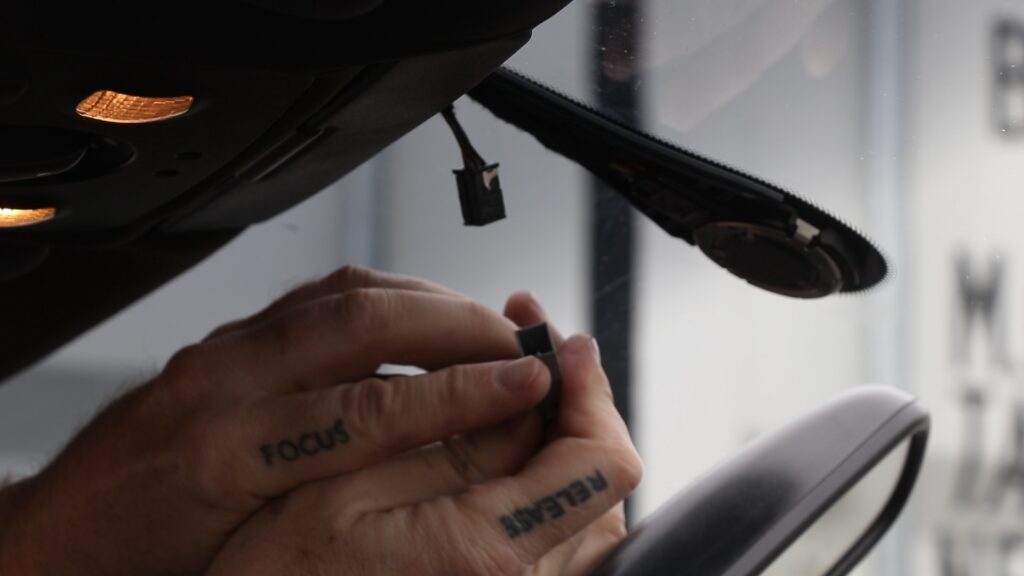
To remove the mirror
- Aim the mirror down to give more access.
- Remove the plastic wire cover by slightly squeezing it and pulling down.
- Firmly grab the mirror and twist counter-clockwise. The mirror will pop off.
- Unplug the wire connector
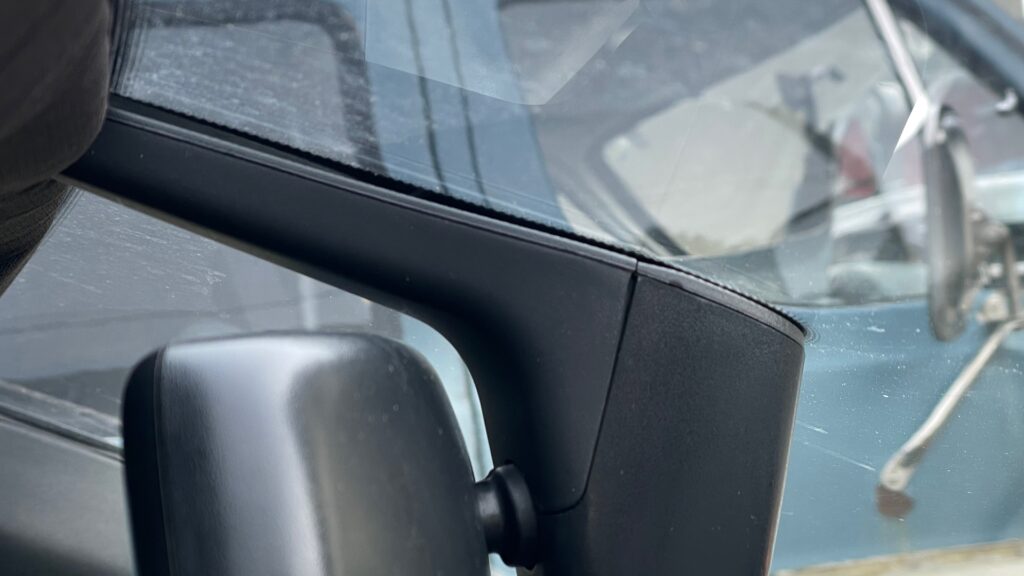
Installation is the reverse of removal. The wire plug is pinned and can only plug back in one way.
Summary
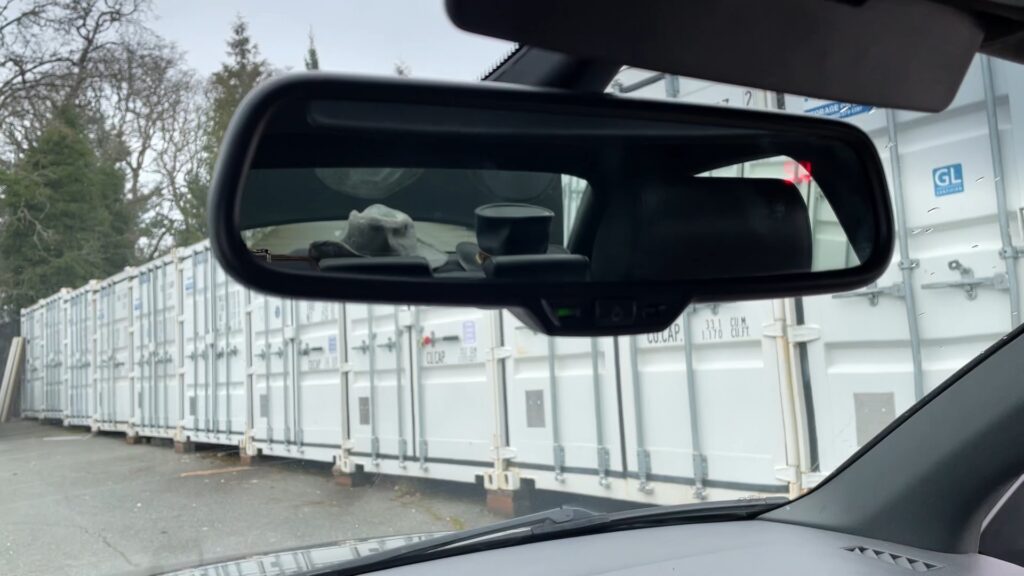
It really is that simple. This is one of the easiest projects I’ve done on my car.
In a future post I’ll will review the steps to making sure the mirror compass is set for the correct geographical area. Also, how to correctly calibrate the compass in case the internal settings are incorrect.



Add comment